Users (Overview)
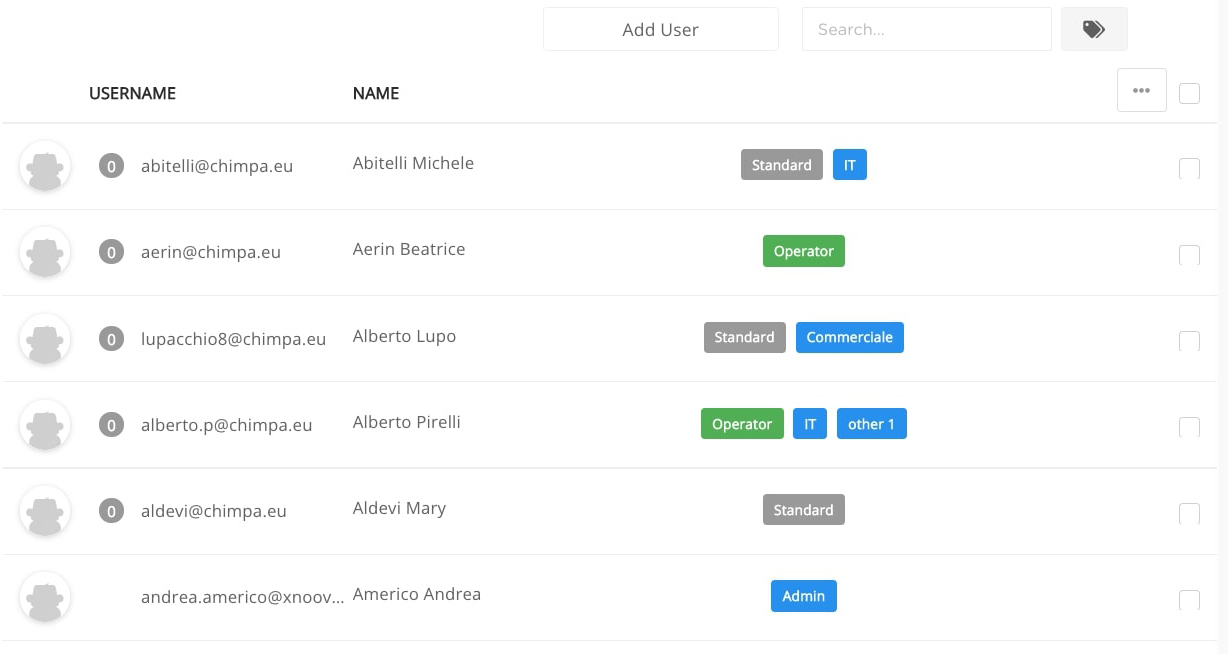
In this page you will find the complete list of users entered within the platform.
The main page is divided in three columns:
- username (with users’ usernames, their avatar and the devices associated with them)
- Name (with name and surname of the user)
- Tags (where you can find a list of tags associated with user, classes and “role” of the user)

By moving to the upper right area you can find some menus and functions:

 by clicking on this button you can add simple filters like groups, tags, types
 by using the search bar you can match the text of the user fullname, email or username
Import
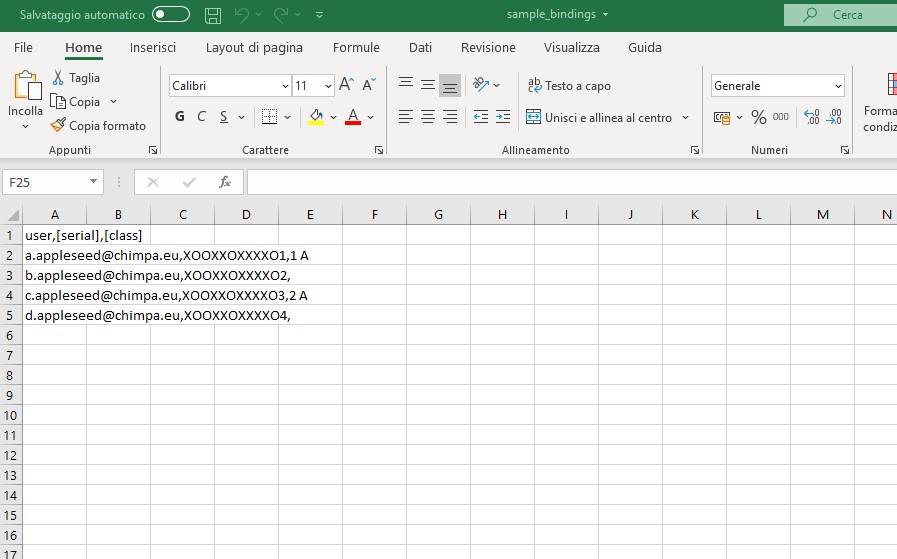
The Import menu allows you to import files containing users, who are part of the organization, or to import files, which contain associations between users and devices. Within the option on associations there is an “i”, by selecting it you will be able to download a sample file in .csv format, that will guide the user in the creation of his own personal file.

Add User
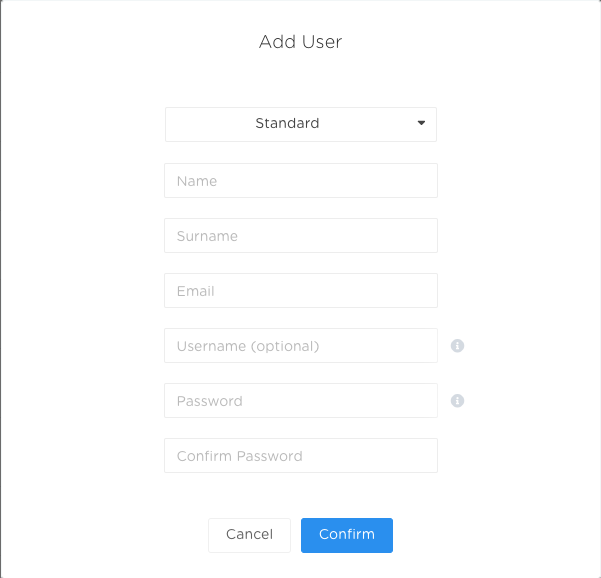
Then, moving to the right, you may find the “Add User” button, which allows the admin to add manually a user to the list. If you click, a dialog box will open and it requires to be filled in with the data relating to the user to be entered.

It is possible to choose between different types of users in the first drop down menu:
- Standard: this user can only access Catalog
- Operator: this type of user can authorize the enrollment on Ermetix Agent, can manage his list of devices and access Catalog
[edu]
- Student: is identified as student the user who can access Chimpa Learn and access Catalog as a “user”, by downloading the contents made available for him/her
- Teacher: this user can access Chimpa Teach and add material to the Bazaar catalog
[/edu]
- Administrator: if the primary administrator has full authority to act on every aspect of the platform, secondary administrators don’t have all the functionalities active
By filling in the various fields you will fill in the required profile, entering also the password for the user himself/herself.
If you move on to the right, you will find the tag icon through which you can apply different tags to users.
Below there is an icon, consisting of three dots, which activates only by selecting one or more users in the list. By clicking on the button, a menu appears with various items concerning the users.
