Geofence
Use Geofence section to manage bounduaries of Gefence areas. Every area shows devices that are assigned and its relative logs.
With the list button  the list of areas will be shown.
Click on an item of the list or directly to a drawed area in the map to open it.

Create or change an area
- create a new area using Add Area button or click on an existing area
- click on the map to set the center of the circle, and click again to set the radius of the circle.
A Geofence area can have multiple circle overlapped areas.
Areas can be customized with settings like Name, tracking status and Live Monitoring.
Default behaviour for Geofence is to work in asynchronous so, devices, send all the statuses to the server one time a day.
If necessary, admin can have update data:
- manually using the Update info action
- enablig the Live Monitoring option
Live Monitoring let the device to upload Geofence log live when a Geofence event has been triggered.
With this option enabled, admin can also set notifications and timerange for tracking.
See members status
select an area with assigned devices
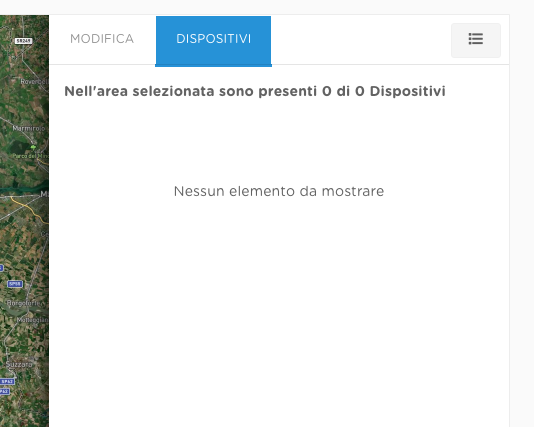
select DEVICES tab: here is shown the list of devices configured to track this area
click on the list button, extended log is shown

Delete an area
- select an existing area
- use trash button

Assign areas to groups or devices
To assign one or more Geofence areas, use Geofence payload.
Trigger
Using Smart Workflow it is possible to trigger actions when a devices join or leave the area.
